Top-Notch CleanersTop-Notch Cleaners
Hello@TopNotch-Cleaners.co.uk
0208 050 4847
8am - 8pm

Kitchen Cleaning for End of Tenancy in London

Kitchen Cleaning for End of Tenancy in London

When your tenancy ends, leaving the property spotless is more than just a courtesy—it’s often a requirement. A clean home plays a key role in getting your full deposit back, and no room gets more attention than the kitchen.

The kitchen is where mess builds up fastest. Grease on the oven, crumbs in the cabinets, limescale around the taps—these are the details landlords and agents cheque closely. Miss them, and deductions can follow.

Doing it right means deep cleaning every surface, appliance, and hidden corner. If time is short or you’re unsure where to begin, bringing in a professional can save you stress—and protect your deposit.

Why Professional Kitchen Cleaning Matters

Your kitchen can make or break your bond return. In London, landlords and real estate agents have high standards when it comes to cleanliness—especially in the kitchen. They’re not just looking for tidy countertops. They’re checking inside ovens, behind appliances, under sinks, and inside every cabinet.

A professional clean doesn’t just look better—it meets rental kitchen standards. This means no greasy oven trays, no food stains in drawers, no odours from the drain. Miss one of these, and you risk part of your deposit being withheld.

Cleaning companies that specialize in end-of-tenancy services understand what agents expect. Many even back their service with a bond back guarantee, giving you added peace of mind.

Scrubbing your own kitchen can be time-consuming and easy to overlook key spots. With a pro, nothing is left to chance. They come equipped with the right tools and products to get the job done properly—and fast.

What Landlords & Real Estate Agents Look For

During a move-out inspection, the kitchen gets extra attention. Why? It’s where the most build-up happens—grease, grime, and food stains. Agents and landlords cheque every corner, not just the obvious spots.

Here’s what’s usually on their checklist:

  • Inside the oven and stove
  • Rangehood filters and fan
  • Sink, taps, and drains
  • Inside and outside of all cupboards and drawers
  • Benchtops, splash backs, and flooring

Real estate agents rely on a detailed checklist during inspections. They look for anything that could cause complaints from the next tenant or cost the landlord extra cleaning fees.

To pass the kitchen inspection, focus on the areas you might forget—like under appliances or behind the sink. Use a flashlight to spot grease, and cheque for any lingering smells.

Tip: If your kitchen looks and smells fresh, and every surface is spotless, you’re far more likely to tick all the boxes and protect your deposit.

The Complete Kitchen Cleaning Checklist

Professional Kitchen Cleaning Checklist

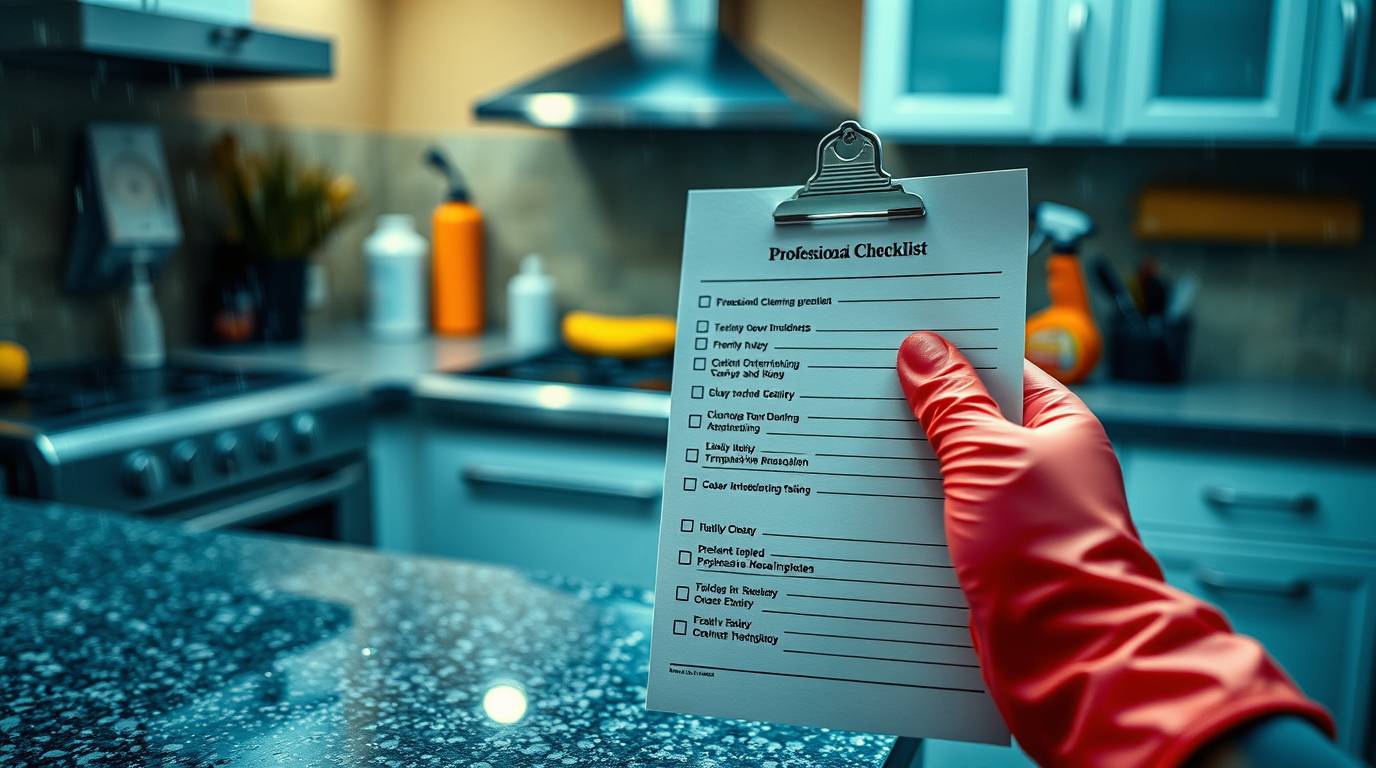
When you’re preparing for an end-of-tenancy inspection, the kitchen needs more than a surface wipe. This cleaning checklist will help you hit all the key areas landlords and agents will cheque:

Oven and Stove

  • Remove racks and soak in hot, soapy water
  • Scrub away burnt-on grease and food
  • Clean behind knobs and under burners

Rangehood and Filter

  • Take out filters and soak in degreaser
  • Wipe the fan blades and outer casing
  • Cheque for trapped dust or oil residue

Sink, Taps, and Drain

  • Descale around taps and polish the fixtures
  • Clear any clogs in the drain
  • Use baking soda to remove smells

Cabinets (Inside & Outside)

  • Empty every cupboard and drawer
  • Wipe inside corners, handles, and shelves
  • Remove crumbs, grease, and stains
  • Floors, Splash backs & Countertops
  • Mop the floor with a degreaser
  • Wipe splash backs clean of splashes and oil
  • Disinfect countertops and edges

A clean kitchen speaks for itself. Stick to this checklist, and you’ll have one less thing to worry about during inspection.

Oven Cleaning

The oven is often the first thing an inspector checks—and one of the hardest to get right.

Oven Cleaning

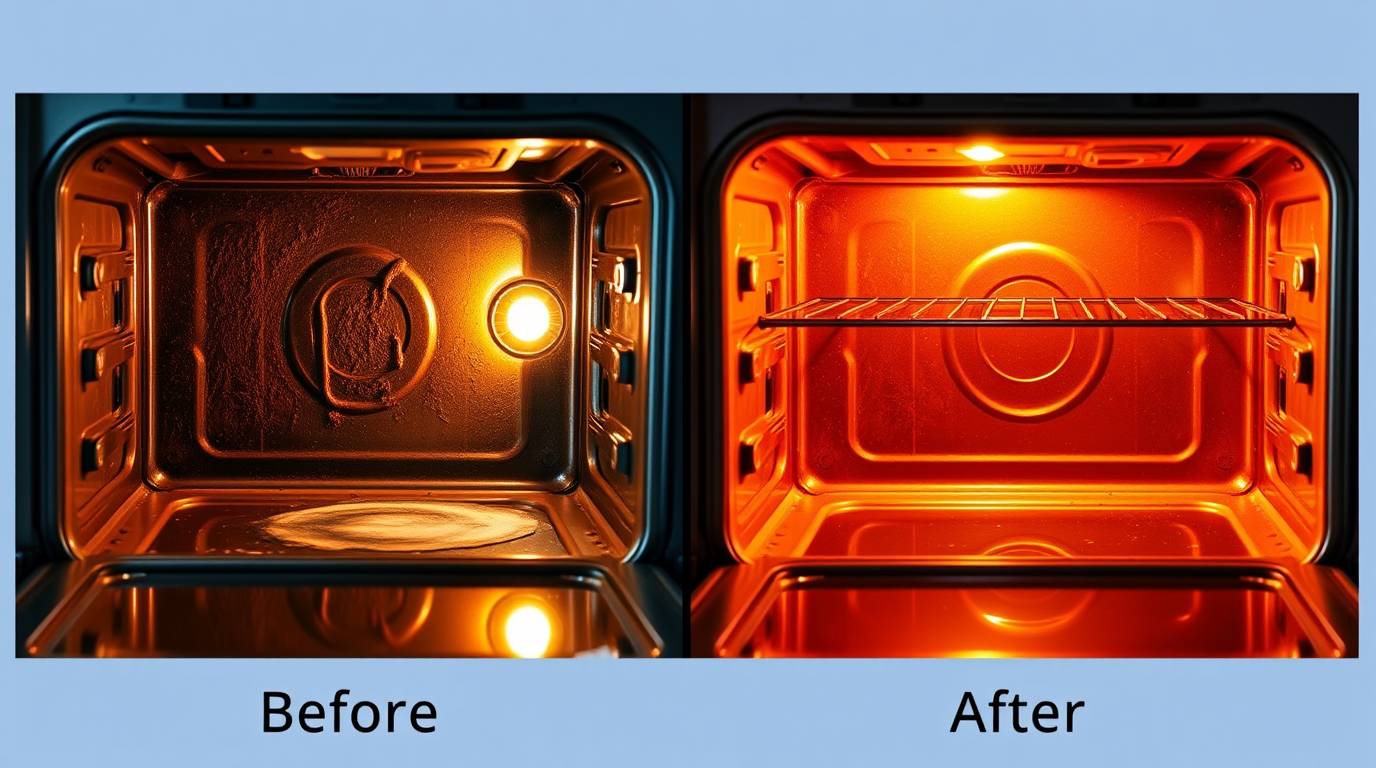
Tackle Baked-On Grease

Start by heating the oven slightly, then switch it off. This softens stuck-on grease. Scrape gently with a plastic tool and use a strong degreaser or a paste made from baking soda and water.

Clean the Racks

Take the racks out and soak them in hot, soapy water for an hour. Use a scrubbing brush or steel wool for any stubborn residue.

Natural or Store-Bought?

Natural options like baking soda and vinegar are safe and effective, especially for light grime. For heavy buildup, a commercial oven cleaner will save time—but use gloves and follow all safety instructions.

A spotless oven can tip the inspection in your favor.
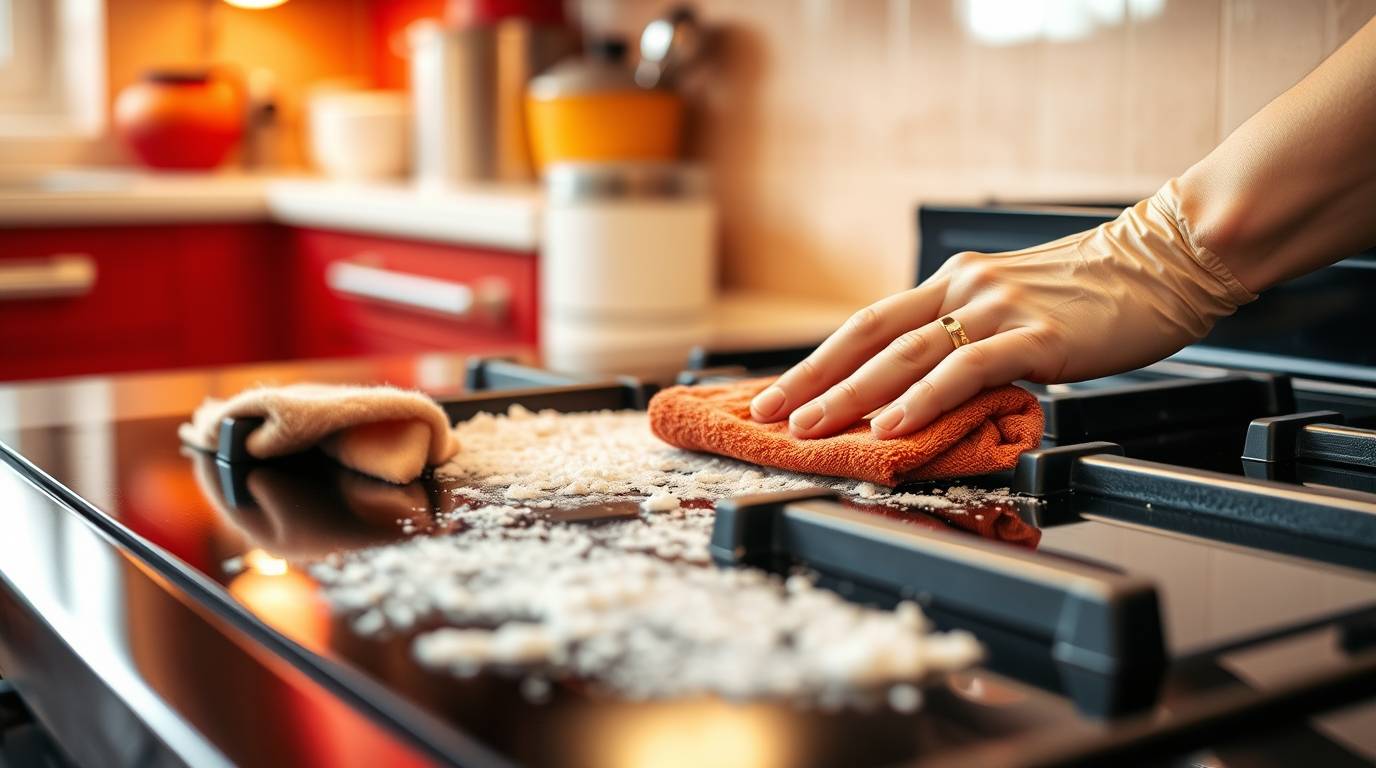
Stovetop Cleaning

A clean stovetop shows you’ve kept the kitchen in good shape—and can help avoid deductions during inspection.

Stovetop Cleaning

Degreasing That Works

Start with warm, soapy water to loosen grease. For tougher spots, use a degreaser spray or make a paste with baking soda and water. Let it sit, then wipe clean.

Know Your Surface

Glass tops need soft cloths—avoid anything abrasive. Use a scraper designed for glass if needed.

Metal burners can handle tougher scrubs. Remove and soak them, then brush off debris.

Protect the Finish

Always use non-scratch pads. Avoid harsh chemicals on delicate surfaces. A quick daily wipe can keep buildup from becoming a problem.

Rangehood & Filter Degreasing

Cleaning your rangehood and filter is essential for a fresh kitchen and a successful inspection.

Cleaning Filters

Take the filters out and soak them in hot, soapy water. After soaking, scrub away any remaining grease or dirt.

Remove Oil and Dust

Wipe down the rangehood’s exterior and inside, paying close attention to built-up oil and dust. A degreaser works well for stubborn residue.

Natural vs Chemical

Natural degreasers, like a mix of vinegar and water, are great for light cleaning. For heavy-duty grease, a commercial degreaser may be necessary.

Kitchen Cupboards & Drawers

Cupboards and drawers can hold hidden dirt that inspectors will notice.

Wipe Inside Shelves

Start by emptying the cupboards and wiping down all shelves with a damp cloth to remove dust and crumbs. For stubborn spots, use a mild cleaner.

Remove Crumbs, Stains, and Grease

Pay attention to corners and edges where crumbs and grease tend to build up. Use a degreaser for any oily residues.

Clean Handles & Outer Surfaces

Don’t forget the handles and outer surfaces. Wipe them with a cleaner that suits the material, such as wood polish or all-purpose cleaner for metal or plastic.

Sink & Tap Descaling

Sink & Tap Descaling

A sparkling sink and taps make a big difference during an inspection.

Removing Limescale & Buildup

To tackle limescale, soak a cloth in vinegar and wrap it around affected areas. Let it sit for 15-30 minutes before scrubbing away the buildup.

Polishing Chrome Fixtures

Use a soft cloth and a chrome cleaner to polish taps and fixtures. This will give them a nice shine and remove water spots.

Unclogging & Deodorizing the Drain

Pour a natural drain cleaner, like baking soda and vinegar, into the drain to remove clogs and neutralize odors. Rinse with hot water to clear it out.

Best Products for Kitchen Cleaning

When cleaning your kitchen, the right products can make a huge difference.

What Pros Use vs What’s Available in Shops

Professionals often use industrial-grade cleaners that aren’t always available to the public. However, store-bought products can still get the job done for regular cleaning.

Eco-Friendly & Pet-Safe Options

For a more sustainable approach, look for eco-friendly and pet-safe cleaners. Natural products like   vinegar, baking soda, and lemon juice work well for most cleaning tasks.

Tools That Make a Difference

Good-quality tools can make cleaning faster and more effective. Invest in scrapers for tough grease, brushes for corners, and microfiber cloths to avoid streaks on surfaces.

Natural ingredients can be just as effective as store-bought cleaners and are often safer for your home.

How to Use Vinegar & Baking Soda

Vinegar and baking soda are powerful when combined. Use vinegar to clean surfaces and eliminate odors. Baking soda helps scrub tough stains and grease. Together, they make a great all-purpose cleaner.

Lemon Juice for Cutting Grease

Lemon juice is a natural degreaser that works well for stovetops, countertops, and other greasy spots. Its acidity breaks down oils while leaving a fresh scent.

Good for Sensitive Households or Allergies

These natural alternatives are gentle on the environment and perfect for households with allergies or sensitive skin. They avoid harsh chemicals and fragrances.

Take Photos Before & After Cleaning

Taking photos before and after your cleaning is a smart move.

Why It’s Smart to Take Pictures

It provides a clear record of your work, showing the condition of the kitchen.

Helps Resolve Disputes

If any issues arise during the inspection, photos can help settle disagreements with landlords or agents.

Great for Sharing Proof with Landlords

Photos serve as solid evidence that the kitchen was cleaned to the required standards, making it easier to get your bond back.

DIY vs Hiring a Pro: What Should You Do?

Choosing between doing it yourself or hiring a professional depends on several factors.

Time and Effort Involved

DIY cleaning can take hours, especially when it comes to deep cleaning the kitchen. It requires attention to detail and energy.

Cost Comparison

While doing it yourself saves money, it may not give the same quality results as a professional. Hiring a pro may cost more upfront but could save you time and stress.

When It’s Worth Paying for Help

If you’re short on time or need to ensure a spotless kitchen, professional cleaners are your best bet. They can handle tough stains and grease, and help ensure your bond return.

How Long Does Kitchen Cleaning Take?

The time needed for kitchen cleaning varies.

Estimate for DIY Cleaning vs Professional Job

For DIY cleaning, it might take anywhere from 3 to 6 hours, depending on how thorough you want to be. Professionals can usually complete the job faster, often within 1.5 to 3 hours.

Depends on Kitchen Size and Condition

A larger, more cluttered kitchen may take longer to clean, while a smaller kitchen will require less time.

Typical Timeframe Tenants Should Plan For

It’s important to allow enough time, usually 3-4 hours, for a complete cleaning if doing it yourself, or hire a pro for a quicker job.

What Your Tenancy Agreement Says About Cleaning

Your tenancy agreement often outlines cleaning responsibilities.

Legal vs Expected Cleaning Responsibilities

While the tenant is generally responsible for cleaning, agreements often specify professional standards for the end of tenancy. It’s crucial to follow these guidelines.

Clauses to Look for About “Professional Standard”

Look for any clauses that mention cleaning requirements. Landlords often expect a “professional standard” of cleanliness, especially in kitchens.

Final Thoughts: Your Responsibilities as a Tenant

When moving out, the final sweep of your kitchen can have a big impact on your bond return.

Final Sweep of What You Need to Do

Before handing over the keys, make sure all surfaces are spotless. This includes wiping down the oven, stovetop, sink, and all cabinetry. Don’t forget to remove any grease, grime, or limescale that may have built up.

Being Smart, Prepared, and Bonded

Being prepared for your inspection ensures you leave on good terms with your landlord. Remember, the more thorough the cleaning, the more likely you’ll get your bond back in full.

Frequently Asked Questions (FAQ)

Do I really need to do end-of-tenancy cleaning?

Yes. A clean property is often required by your tenancy agreement and is crucial for getting your full deposit back.

Should I clean the property myself or hire professionals?

If the place is lightly used and you're confident in your cleaning skills, DIY can work. Otherwise, hiring professionals may be worth it to avoid deposit deductions.

What are the most commonly missed spots when cleaning?

Tenants often forget behind furniture, inside cupboards, and inside appliances like the oven and fridge—these can be deal-breakers during inspection.

When should I start cleaning before moving out?

Start at least 4 weeks before your move-out date to avoid last-minute stress and ensure everything is cleaned thoroughly.

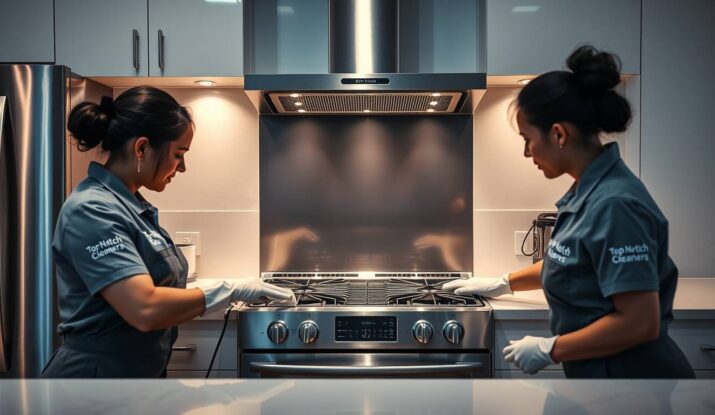
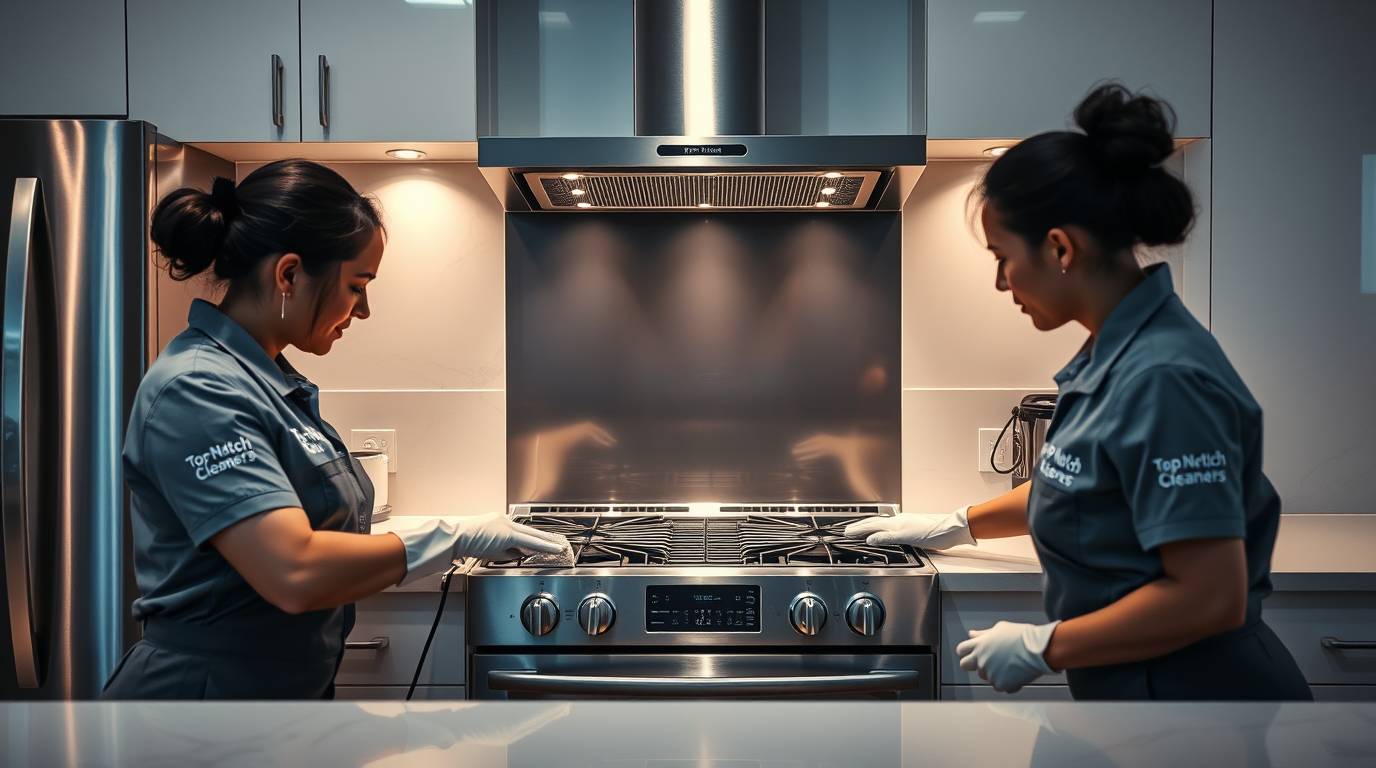
Let Us Handle the Hard Work
Make sure your kitchen shines before the inspection with help from Top-Notch Cleaners.
We deep clean every corner—inside the oven, behind the hob, under the sink—so nothing gets missed.

Book your professional clean today
Our expert team will make sure your kitchen passes inspection with flying colors.

Click to book now or give us a quick call –
Contact with us and Book Now


Previous Post
Newer Post